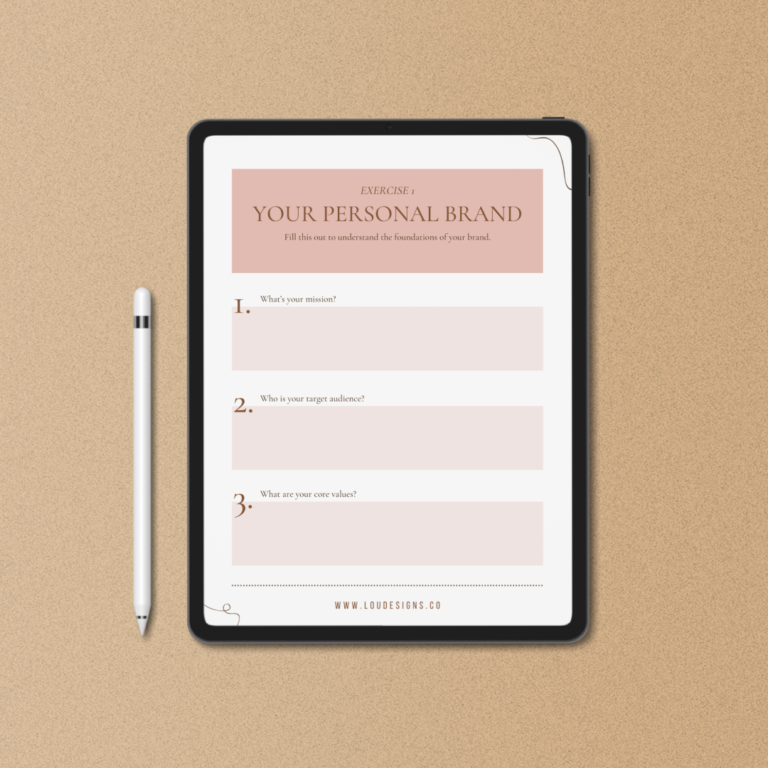
Creating interactive, fillable workbooks is a fantastic way to engage audiences in an easy, environmentally friendly way. Whether you’re a coach, course creator, business owner or a creative designing materials for clients, this guide will show you how to create a beautiful, functional workbook in Canva—perfect for users who prefer filling out their workbooks digitally. Follow these steps, and you’ll have a polished, interactive workbook ready to share.
Table of Contents
Video version
If you prefer watching the video tutorial, click below.
Step 1: Open Canva and Create a New Document
- Sign in to Canva (using the web version is recommended).
- In the top right corner, select Create a Design.
- Choose a document size. Common sizes are A4 or US Letter. In this example, we’ll use the A4 document layout, giving us a blank canvas to work with.
Step 2: Find and Customize Templates
Canva has an extensive library of templates that make designing easier. Search for “workbook” in the template search bar and browse for layouts that appeal to you.
When selecting a template, focus on the layout rather than design details. We’ll customize the style in later steps, so just pick templates that organize your content in a way you like.
Step 3: Add Content to Your Workbook
Before adding content in Canva, prepare your text (or “copy”) in a document like Google Docs. This way, you can visualize the layout better as you design. If you don’t have your text ready, you can use a dummy text generator like Blind Text Generator to fill your templates temporarily.
Step 4: Choose Cohesive Fonts and Colors
Creating a cohesive look with fonts and colors makes a big difference. Canva Pro users can use the Brand Kit feature to quickly apply your brand colors and fonts. If you don’t have a Brand Kit, the Styles feature is a great alternative to achieve consistency. You can also shuffle colors and try different font combinations for a professional, polished look.
Step 5: Add Visual Elements
Design elements and stock photos bring life to your workbook. Try to select photos that complement your chosen color scheme. Canva’s search tool and filtering options help you find images and graphics that match your aesthetic, saving you time while creating a cohesive design.
Step 6: Add Links and Page Navigation
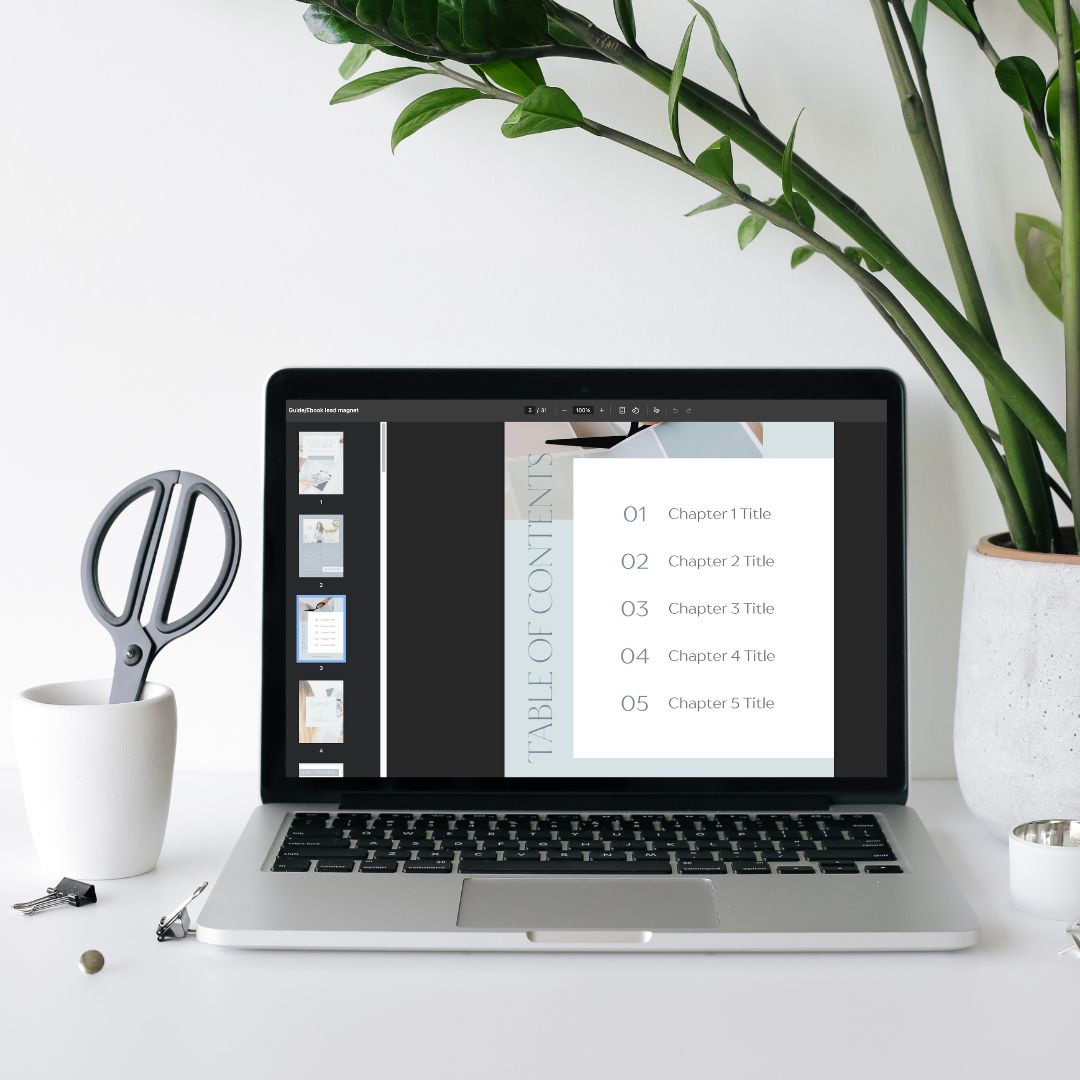
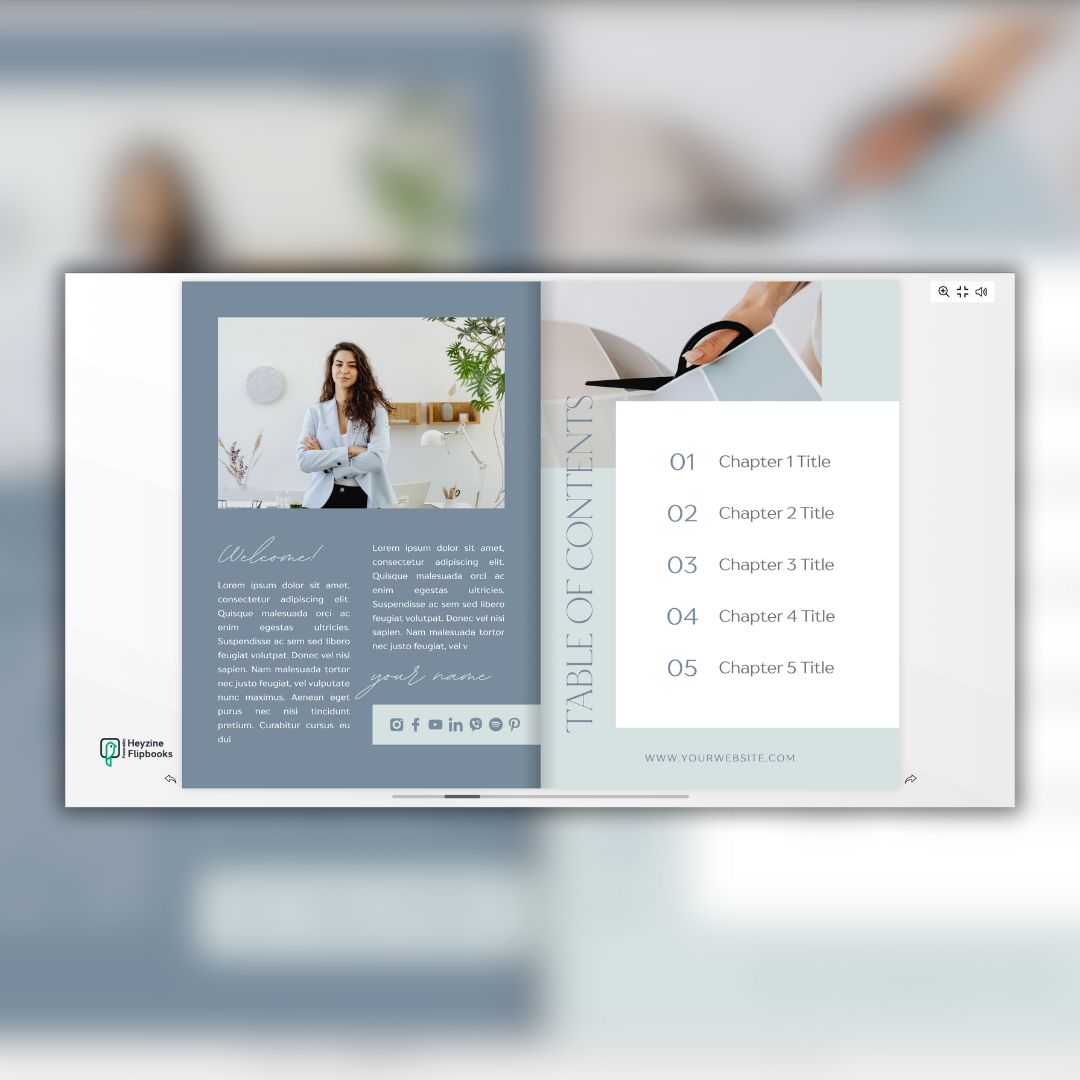
For ease of navigation, you can link your Table of Contents to specific pages within the document. Select the text in your Table of Contents, click the link icon, and choose the corresponding page number. This step helps users navigate your workbook seamlessly.
Step 7: Download and Make Your Workbook Fillable
- When you’re happy with your design, click Share and Download. Choose PDF Standard for a digital-friendly version.
- To make your workbook fillable, use a free tool like PDF Escape. Simply upload your PDF, add text fields, and customize them as needed.
Now you’re ready to share a beautifully designed, interactive workbook with your audience!
Final Tips
Keep your design simple yet engaging, and don’t overthink each element. With practice, you’ll create stunning workbooks in no time. Happy designing!
Share the Post:


