If you’re planning to start a coaching business or create a course, offering a freebie that resonates with your target audience is one of the most effective strategies for growing your email list. This freebie, often referred to as a lead magnet, not only builds trust but also provides value to your audience right from the start.
In this blog post, I’ll walk you through a simple, step-by-step guide to creating a lead magnet funnel using MailerLite.
Table of Contents
Not a reader? Watch the video version here
What to Prepare
Before diving into the tutorial, here are a few things you’ll want to prepare:
- Lead Magnet Landing Page Copy: Write a compelling message that introduces your freebie.
- Email Sequence Copy: Prepare emails to send after someone signs up.
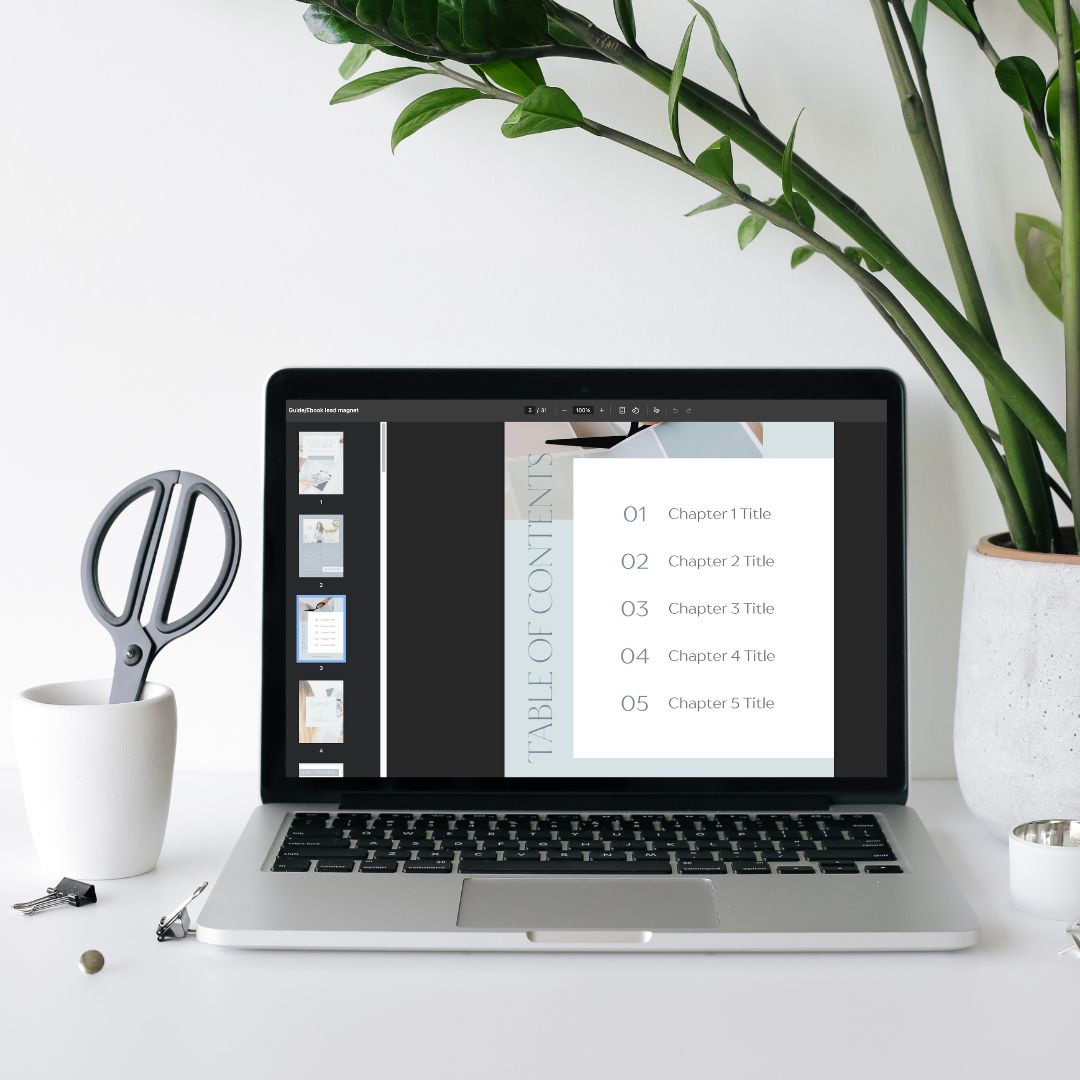
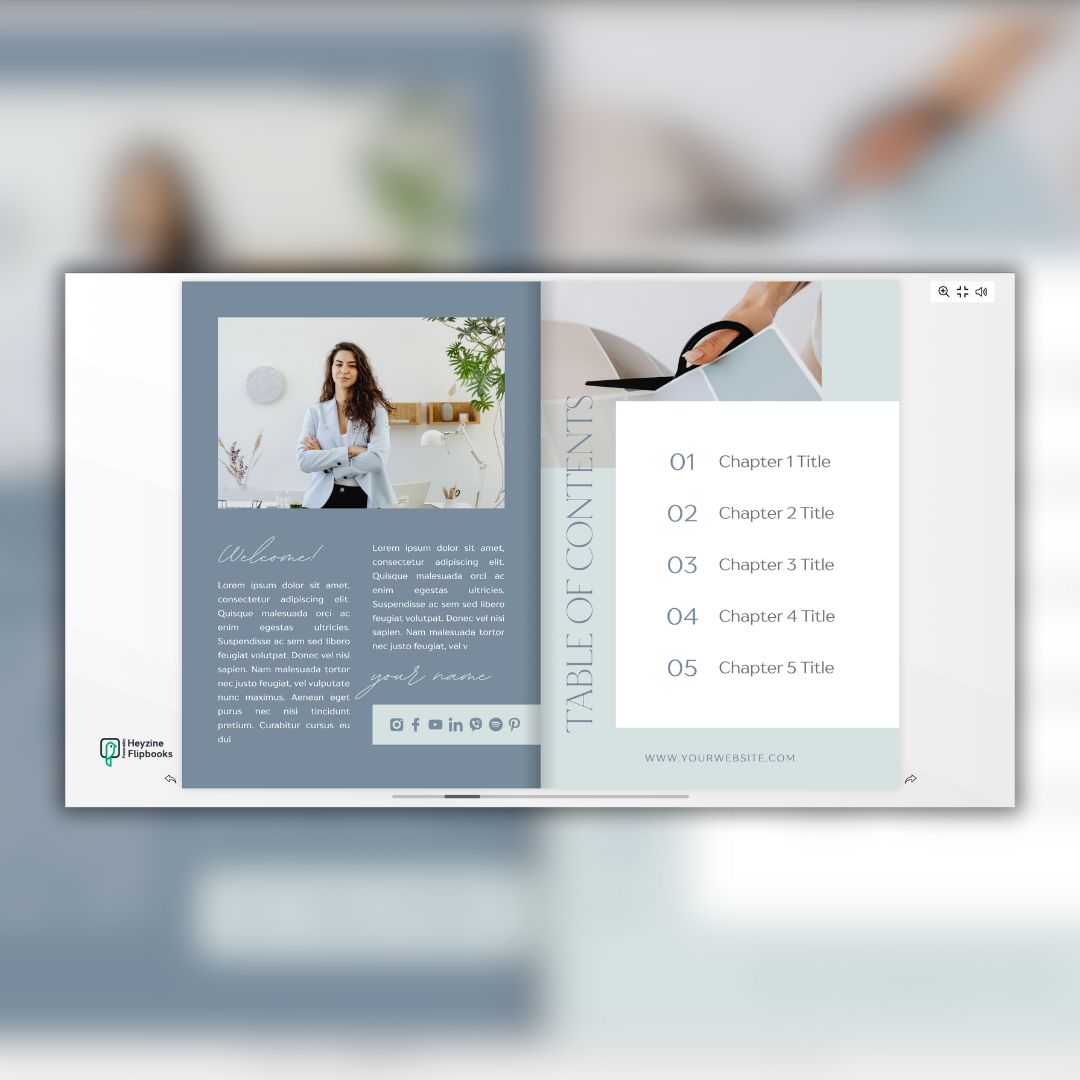
- Lead Magnet Mockup: Create an eye-catching graphic of your freebie (e.g., an ebook or checklist).
- Brand Assets: Gather your brand colors, fonts, and logos.
- Your Freebie: Have your guide, checklist, or any downloadable content ready.
Step-by-Step Guide
Step 1: Sign Up or Log In to MailerLite
Head over to MailerLite and either create a free account or log in to your existing one.
Step 2: Create a New Group
- Click on Subscribers in the side menu.
- Navigate to Groups and click Create Group.
- Name your group (e.g., “Free Lead Magnet Subscribers”) and click Save.
Step 3: Create a Landing Page
- Go to Sites in the side menu and select Landing Pages.
- Click Create Landing Page, then choose a template (only available for premium version) or start from scratch.
- Add your lead magnet details to the page, including:
- Headline: A catchy phrase like, “Download Your Free Guide!”
- Description: A short explanation of what the lead magnet offers.
- Sign-Up Form: Collect essential subscriber details such as name and email.
- Customize the design to match your branding.
Step 4: Set Up the Automation Workflow
- Navigate to Automation in the top menu.
- Click Create Workflow and name it (e.g., “Free Lead Magnet Funnel”).
- The trigger is automatically created (e.g. When someone subscribes to the form you created).
Step 5: Create the Email Sequence
- Add your first email to the workflow:
- Click Add Action, then choose Send Email.
- Write the email that will be sent immediately after someone subscribes. Make sure to include the download link for your lead magnet.
- Use a warm, welcoming tone like, “Thanks for signing up! Here’s your free guide.”
- Optionally, add follow-up emails to nurture your new subscriber.
Step 6: Set Up a Thank You Page (Optional)
- In the landing page builder, set the Redirect option after form submission.
- Link it to a custom thank you page where you can thank your subscribers and guide them to their next steps or you can just customize the ‘message’.
Step 7: Publish and Test Your Funnel
- Once everything is set up, click Publish to make your landing page live.
- Test your funnel by signing up with your email to confirm the automation and emails are working as expected.
Step 8: Promote Your Funnel
Share the link to your landing page on your website, social media platforms, or any other channels where your target audience hangs out.
Final Thoughts
Congratulations! You’ve successfully created a simple lead magnet funnel in MailerLite. By providing value upfront and growing your email list, you’re setting the foundation for a thriving coaching business or course.
Start promoting your funnel today, and watch your email list grow!


